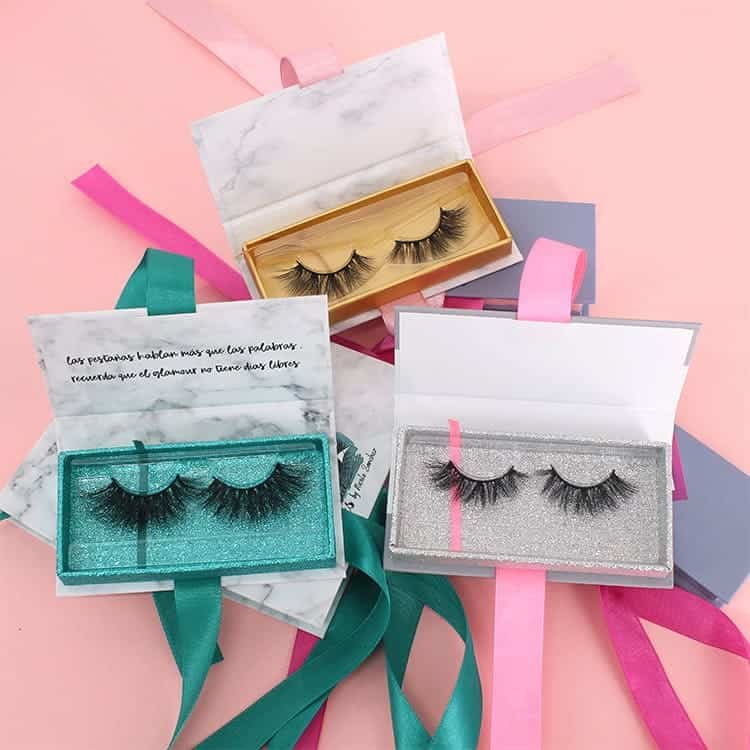
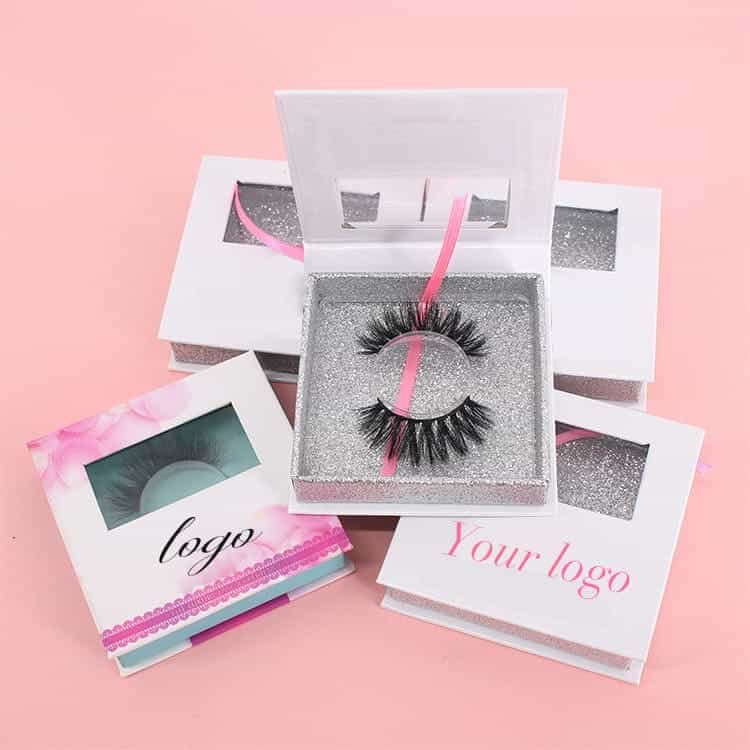
Eyelashes require excellent packaging that will attract customers and satisfy their demands. You would also like to keep up with bespoke packaging designs.
Make DIY lash Packaging? It is possible to make eye-catching lash packaging at home. All you need is a Cricut machine and the materials for the boxes.
There are various ways of making DIY lash packaging with effortless application and high-quality, luxury materials. Read on to find out!

Making DIY Lash Packaging With Cricut: Should You Start From Scratch?
Here, you only need to focus on what is essential, and that should always be a beautiful end product. To make a gorgeous end product, you have to start from scratch.
Cricut Design Space is the secret to great custom designs. Here is a step-by-step tutorial on how to make lash packaging with Cricut.
Resources To Create Your Own Paper Lash Packaging With Cricut
Materials
- Glitter Cardstock. You may use any other material you prefer
- High-Quality Glue
Tools
- Fine Point Blade
- Scoring Stylus or Scoring Wheel
- Strong or standard grip Mat
- Practice File
- Cricut Machine (Maker, Explore)
Instructions
- Upload Template to Cricut Design Space.
- Format Cut lines for Score lines. This is to enable you make folds
- Click on all the elements on the canvas; Attach, and select ‘Make It’
- Turn the mirror ON in case you are using one side coated materials. Examples include; glitter, or metallic paper. Click Continue to proceed
- Go to the design space to choose your desired materials. Click on ‘Custom’ if you are using a machine with Smart Set Dial.
- Place your selected material on Mat. Load it at the same time with the Scoring Tool and Fine Point Blade.
- Click on the “Go” button. Wait until the cut is ready before unloading Mat.
- Get rid of the cut from the Mat and Assemble Box
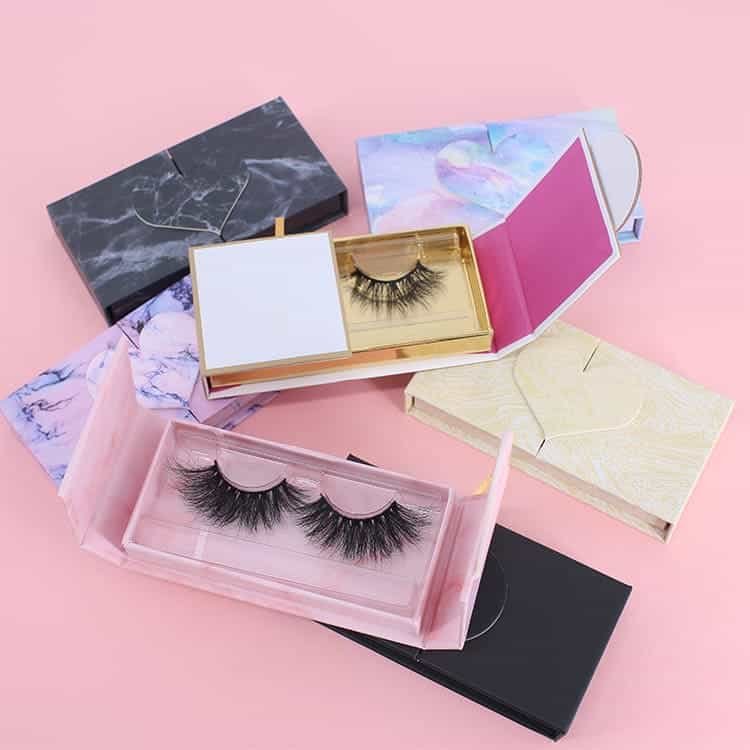
Top And Bottom Box Template For Lash Packaging
It is always advisable to use high-quality glue when doing a professional project like lash packaging. I would highly recommend using beacon 3-in-1 or a crafter’s tape. A glue pen would also work.
For the box part, I would recommend the use of cardstock. Using regular paper is fragile, and the box must be sturdy enough.
Only quality paper is recommended. The cheaper ones will make the project look cheap!
To know more about making box lash packaging with Cricut, read on!

Step By Step Guide On How To Make DIY Lash Packaging With Circuit
The tutorial includes six different templates. The step-by-step explanation is of the inside of the Cricut Design Space. After the step-by-step tutorial, I will explain how to assemble each box template.
- Upload The Lash Box Template TO Cricut Design
You first need to log into your Cricut Design Space account and click the Upload icon. It is located on the left panel of the canvas area.
After that, click on the upload image icon and choose the desired template from the computer. Then save it to the Cricut Design Space.
After saving your desired template, it will appear on the recently uploaded folder. Select 8t and click on the add to canvas icon.
- • Understand The Lash Box Template And Set It For Editing.
A box comprises both the top and bottom parts to have two pieces on your display.
After you insert your file, the bottom and top parts are grouped. We need to work on each part individually. Select the ungroup icon to separate them. It is located at the top layer’s panel.
It is advisable to ungroup them once. The other groups left will give you a guideline on how to edit things faster.

- Redefine The Score Lines By Changing Operation To Score
There is a certain way that all lash packages are folded. Cricut allows you to create your own creative and beautiful fold depending on the material you use.
That makes your life easier and creations manageable.
You are required to group the lines that need to be scored. The lines are grouped in black and across the whole design.
If there are lines that cut across the design, it means that the packaging is a bit tricky. Therefore, to find the score lines, click on the black square of the middle.
Next, click on the operation icon located on the top menu. Then, change the operation to score. You will notice that both pieces are well scored.
- Attach The Score Lines To The Lash Box Template By Clicking On Attach, Resize, & Make It.
Once all the lines are ideally scored, you need to assign them to the packaging box.
It may look like everything is in order in the canvas area. The only way to make everything stick in the same spot is by attaching the score lines to the templates.
Some elements make the bottom; click on them. Then, click on attach located at the end of the layers’ panel. Repeat the same process with the elements that make the top cover.
Note: it is at this point where the packaging can be resized. Ensure that both parts are either increased or decreased at the same time. Also, use the same proportions to make the packaging look even. The measurements need to match; otherwise, it will be useless. It applies to all other templates used.
Once you are done with resizing and attaching, click on the Make It icon, which is located in the upper right-hand corner of the canvas area.

- Proceed To The Cutting Process
Some machines will ask how to load your materials. Either on a mat or without a mat. To follow along, select on a mat.
There are two different types of mats provided. The mats are of different colors. Use one Mat if both parts of the packaging box fit.
If you use two different colors, cut your packaging box into two different mats. There is a place where Cricut instructs.
You need to fold your materials towards them when creating score lines.
Therefore, if you have one side of the packaging coated with a glitter card stock or patterned paper, place the paper pretty side down on the Mat.
Before you do that, ensure that the mirror is turned on. If the box packaging is the same mathematically, there is no problem leaving it on.
It should be turned on because of habit. You may want to cut other materials like iron, and you forget the importance of this concept.

Cutting Multiple Colors On A Single Cricut Mat
As I have mentioned above, two different mats are provided in different colors. You are the one to decide whether to use one or both.
A single mat could also have multiple colors. To cut it, you have to attach all different colors in one final piece then cut.
Depending on the desired design, you should do things before you cut. To know more, continue reading!
Steps to follow when cutting multiple colors on one Cricut Mat
- The method does not apply when cutting different types of materials. They could be ruined, or you may not cut them all.
- Upload your design
- First, upload your desired design to Design Space. That is done by clicking on the upload button. It is located on the left panel of the canvas area.
- Once the design is uploaded, select it and click on insert images.
- Tidy up your design
- The file requires some touch-ups before cutting it all on the same Mat. Select it, then click the ungroup icon.
- Pick all the letters of the word you wish to insert and click on Weld.
- Before proceeding, please consider that the design is set and organized as it would look like in real life.
- To be able to cut it in various colors, you have to move the elements around. That is because they have to be away from each other.
- Before proceeding to the next step, it’s wise to have a copy of the original. Copy and paste the original design, group it, and hide visibility. Visibility is hidden by clicking the little eye on the layer’s panel.
- Attach design and click on make it
- Select all the elements and click on attach when you finish organizing each element and spacing it. Press make it to complete.
- After attaching, you will notice all of the designs take one color. The number of colors dictates the number of mats used. Each Mat represents its own color.
- We want a single mat in this process. Attaching something means the software will produce all elements when sending the project for cutting.
- After clicking on make it, the elements will now appear on one Mat.
- If the project requires every element to represent a different color, you need to cut one stripe of each color. Each strip represents each color.
- After cutting the three different stripes of color, stick them to the Mat. Load it to the Cricut and choose the material to use on Cricut Design Space or Smart Set Dial. Click on the Make It icon.
- Once cutting is done by the Cricut, weed and remove materials from the Mat. Transfer the design may be to the desired lash box packaging.
- Your project is now cut on one single Mat!
- Select Your Cutting Material, Load Mat, & Go.

In selecting your material, use the “smart set dial.” Move it to “custom” to select the material you want from Design Space.
After selecting your material from the options offered by Cricut, go ahead. If you don’t find the desired material, browse it by inserting the keyword or alphabetically.
You will cut the material with the Explore Machines. The tools section will make you install the “Scoring Stylus” and the “Fine Point Blade.”
If you have any of the “Maker Machines,” you need the wheel by default. If you use the “Stylus,” click on “Edit Tools” and select Scoring Stylus.
Install the Scoring Stylus along with the Fine Pointy Blade. If you use the wheel, you will require to install the fine point blade when the scoring is done.
Place your selected materials on the Mat. Let the materials be loaded on the Mat then click on the flashing GO button.

How To Assemble The Lash Packaging After Cutting With Cricut?
As earlier mentioned, the top and the bottom part in every packaging need to be assembled according to the material used.
- Top and bottom lash packaging assemble process.
When using thick materials like glitter cardstock or poster board, this design does not require glue to assemble the package.
If a thin material is used, a little amount of glue or tape is required to secure it.
How To Assemble Top-Cover?
- Fold the four outermost tabs out.
- Fold the remaining paper towards the score lines.
- Fold the sides with the square corners first, then fold in the other four taps.
- Fold the angled sides in to cover the package.
- If you have thin materials, secure the angled parts using glue or tape.

How To Assemble Bottom Storage?
It is basically similar to the top part, only with a larger surface area.
- Fold the four outermost tabs out.
- Fold the remaining paper towards the score lines.
- Fold the sides with the square corners first, then fold in the other four taps.
- Fold the angled sides in to cover the package.
- If you have thin materials, secure the angled parts using glue or tape.
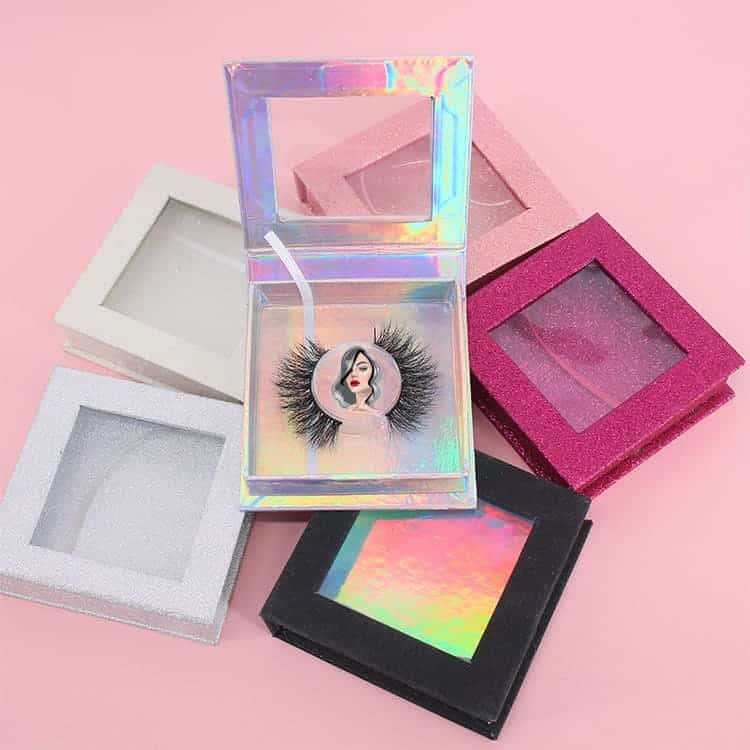
- Cube Box Assemble Lash Packaging Process.
If the lash packaging you have in mind is a cube box, it could be the easiest to assemble. It is possible to add extra touches to the box to make it extra cute.
Step by step assemble.
- You can tie a ribbon on top of the lash packaging to make a bow that looks cute. A lot of professionals hardly use ribbons.
- Go through the final cut to the logic of the box lash packaging.
- Fold the paper towards the score lines. You will begin getting an idea of the final structure.
- Fold in the little outermost tab. Put some glue on the patterned side. Attach the part with glue to the other side. Press tightly until the glue is dried.
- Fold the two small sides of the Bottom part, and tuck the remaining tab. That will close the box.
- Repeat the bottom part process for the top part.
- Lunch Box Lash Packaging Assembly Process.
The lunch box is a packaging design that involves the biggest box of all. If you would wish to create a fair-sized box, you have to use a 12 by 24 inches Mat.
Step by step assemble.
- Go through the final cut to see the logic of the box
- Fold the paper towards the score lines. It brings an idea of what you are working with.
- Fold in the little outermost tab. Apply glue to the glittered side, if any. Attach it to the other side.
- Press the glued part tightly until it is dry.
- First, fold the sizeable rectangular tab for the bottom part, followed by the two small side tabs.
- Fold and tuck the large angled tab into the area allocated on the sizeable rectangular tab.
- Hold the two wider parts together to complete the handle for the top part. Latch the side hooks with the narrow sides.
- Close the box using the little flaps in the handle.
- Square Petal Box Lash Packaging Assembly Process

Step by step assemble.
- Go through the final cut to see the logic of the box
- Fold the paper towards the score lines. It brings an idea of what you are working with.
- Fold in the little outermost tab. Apply glue to the glittered side, if any. Attach it to the other side.
- Press the glued part tightly until it is dry.
- Bottom part, fold in the two small sides.
- Tuck in the remaining tab to close the box.
- Top part, grab the four remaining tabs. Fold them in halfway through.
- Pick the tab to the right of the folded tab. Insert the petal under the folded tab.
- Go on with the process counterclockwise. Do this until all tabs are folded in.
- Candy Wrap Lash Packaging Assemble Process.
You can use the scoring wheel on the material you use to make lash candy wrap box packaging.
When you use a fine glitter card stock for this specific box and the scoring wheel tip 02, most of your glitter will stick to the Cricut mat.
The 01 tip of the scoring wheel will also do the same but not as noticeable. If you don’t like the effect, try using a fine glitter paper. Ensure you have tested it before creating a large project.
Step by step assemble.
- Go through the final cut to see the logic of the box
- Fold the paper towards the score lines. It brings an idea of what you are working with.
- Fold in the little outermost tab. Apply glue to the glittered side, if any. Attach it to the other side.
- Press the glued part tightly until it is dry.
- Open the box to form the bottom and top parts.
- Top part, grab the four remaining tabs, and fold in halfway through.
- Pick the tab to the right of the folded tab. Insert the tab under the fold.
- Go on with the process counterclockwise. Do this until all tabs are folded in.
- Bottom part, repeat the top process in the clockwise direction.
- Pillow Box Lash Packaging Assemble Process.
Lash pillow box packaging design is easy to make. It is suitable for lash packaging as well as the others. Some entrepreneurs go for this design.
Step by step assemble.
- Go through the final cut to see the logic of the box.
- Fold the paper towards the score lines. It brings an idea of what you are working with.
- Fold in the little outermost tab. Apply glue to the glittered side, if any. Attach it to the other side.
- Press the glued part tightly until it is dry.
- Open the box to view its shape.
- For the bottom and top parts, push the curved tabs. One on top of the other.
Free SVG Boxes templates
These types of boxes are organized in a way where the cut lines and the score lines are grouped. That gives you room to change the “operation” very fast.
You need a laptop or a desktop to download the files. You have to click on the button to trigger a download file on your PC.
The PC may ask where to save the file. That depends on your browser settings. Most of the time, the files will be in your download folder.
The image might open in a new window depending on your browser settings. Press Right-click, choose the “save image as” option. Lastly, select where to save the file.
SVG files are similar to web page files when downloaded.
Points To Remember About Cricut
- For the use of the scoring stylus, you can freely score and cut. If you use the scoring wheel, you have to install the tool first and wait for Cricut Design Space to instruct you on when to install Fine Point Blade.
- The scoring stylus is perfect for scoring cardstock, but the scoring wheel can score thicker material like kraft board.
- Kraft board creates a sturdier lash packaging.
- For any hard material, use a hot glue gun to hold the double-folded sides of the packaging. Use it to attach the flaps at each of the four corners too.
- For the foil acetate sleeves, use clear tape to attach the flaps.
- Generally, Cricut Maker offers a wide range of tools. Some include writing, scoring, cutting, and adding decorative effects.
- It glides through various materials and cuts intricate shapes perfectly in vinyl, poster board, cardstock, iron-on, among others.
- It not only makes perfectly cut-out box templates but also scores the material too. That makes it easy to fold.
Final Thoughts
Always place the pretty side of the material down if you are using it on side coated.
Lash packaging boxes are mostly made of acrylic glass material and paper, easily made and customized using the Cricut maker.